
After a flood, you should carefully inspect your power tools for water damage and corrosion, checking for cracks, warping, and rust on metal parts. Test electrical safety features like cords, plugs, and GFCI outlets, and look for moisture or corrosion around switches. Clean and dry tools thoroughly, using compressed air and desiccants, then decide whether repairs are possible or if replacement is safer. Keep tools stored in waterproof, elevated places to prevent future damage—learn more on how to keep your tools safe and functional.
Key Takeaways
- Conduct a thorough visual and structural inspection for water damage, corrosion, cracks, or warping.
- Check electrical cords, plugs, switches, and safety features for moisture, corrosion, or damage.
- Clean and dry tools completely using appropriate methods, including compressed air and desiccants.
- Assess internal components for hidden corrosion or damage before deciding on repair or replacement.
- Store tools in waterproof, elevated areas and regularly monitor for future water intrusion or damage.
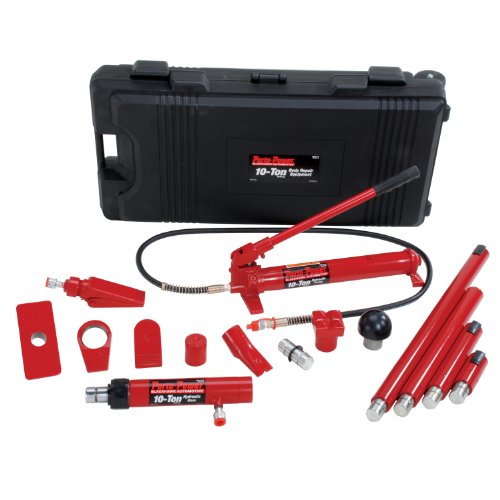
Porto-Power B65115 Black/Red Hydraulic Body Repair 19 Piece Kit – 10 Ton Capacity
- Overload Protection System: Automatic pump overload protection
- Heavy-Walled Extension Tubes: Durable tubes for tough conditions
- Flex Head with Rubber Pad: Interlocked, molded rubber pad
As an affiliate, we earn on qualifying purchases.
As an affiliate, we earn on qualifying purchases.
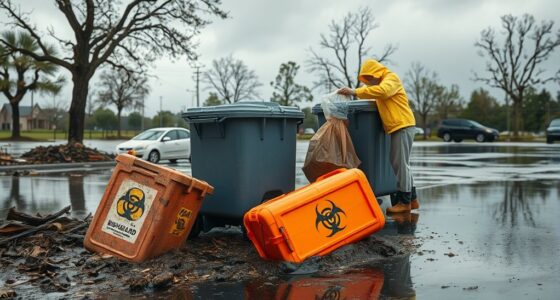
Why Flood Damage Makes Power Tools Unsafe to Use
Flood damage can severely compromise the safety of your power tools, even if they appear to work fine afterward. Water infiltrates motors, switches, and internal components, creating hidden risks like short circuits or corrosion. Using damaged tools can lead to electrical shocks, fires, or further equipment failure. Many people assume their tools are safe after drying, but water damage often isn’t visible externally. That’s why having proper power tool insurance and understanding flood damage warranties is essential. These protections can help cover repairs or replacements, so you don’t risk personal injury or costly damage. Additionally, excessive ear wax can lead to a stronger smell, which may distract you from focusing on repairs. Always treat flood-affected power tools with caution, even if they seem operational. Additionally, using essential DIY tools can help you tackle repairs safely and effectively. Regularly inspecting tools for hidden damage can help prevent accidents and ensure your safety. A thorough inspection should also consider the safety checklists found in wellness tech to ensure all devices are in proper working condition. Essential oils for toothache relief can also provide natural pain management options if injuries occur during repairs. The safest choice is to have them professionally inspected before attempting to use them again.

DEWALT TSTAK Tool Box, Extra Large Design, Removable Tray for Easy Access to Tools, Water and Debris Resistant (DWST17806)
- Flexible Platform: Allows customizable configurations
- Stackable Design: Units connect securely with side latches
- Bi-material Handle: Provides easy and stable portability
As an affiliate, we earn on qualifying purchases.
As an affiliate, we earn on qualifying purchases.
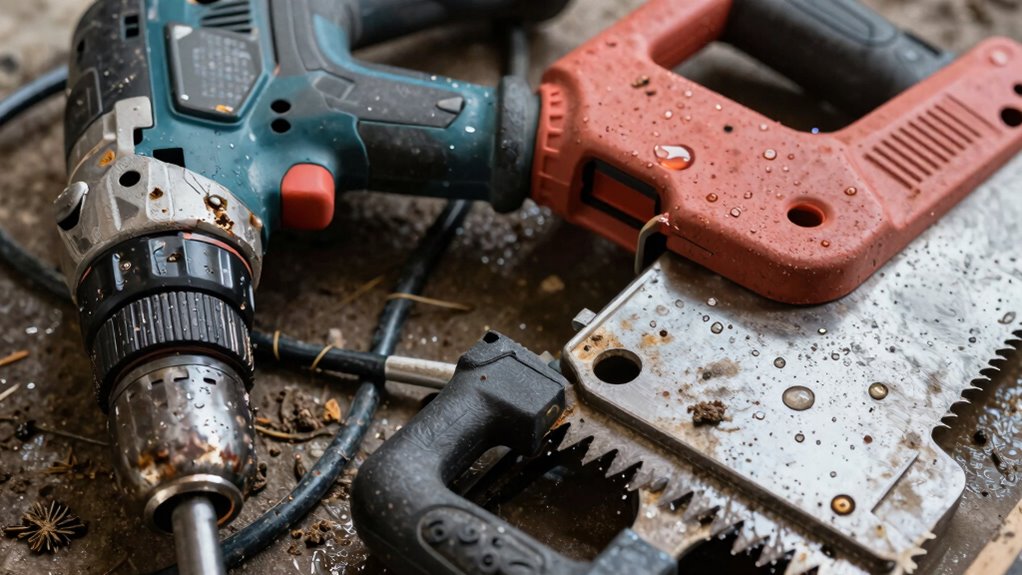
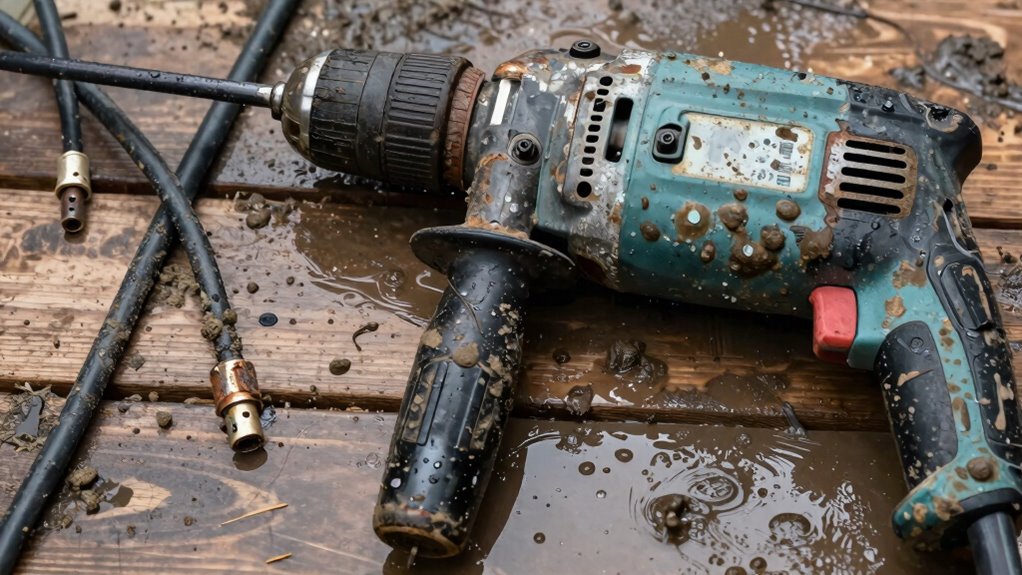
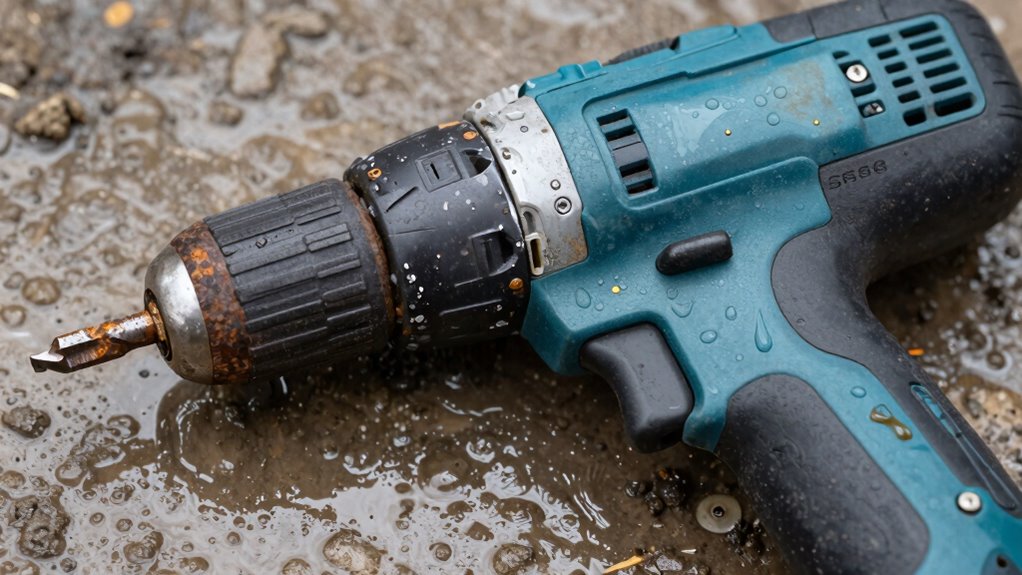
Assessing Water Damage: What to Look for Visually
When inspecting a power tool after water exposure, your goal is to identify visible signs of damage that could compromise safety and functionality. Look for obvious water penetration, such as water spots or corrosion on surfaces. Check the structural integrity by examining cracks, warping, or bent parts, which may indicate weakened components. Water damage can hide beneath surfaces, so be thorough. Additionally, consider that the impact of digital concepts can affect how we approach maintenance and safety in our tools. It’s important to remember that tools designed for women’s LPGA achievements may require specific maintenance due to their unique construction and usage patterns. Regular maintenance, including gear care tips, can significantly extend the lifespan of your tools. Also, notice any discoloration or rust, as these point to ongoing deterioration. Confirm the tool’s casing is intact and no parts are loose. Incorporating features like outdoor ovens can enhance the versatility of your workspace. Remember, even subtle signs of damage can affect performance. Carefully evaluating these visual indicators helps determine whether the tool is safe to repair or if it needs replacing. Prioritize safety before attempting to reuse any water-exposed power tool. Additionally, consider using hydrotherapy techniques to relieve stress if you’re feeling overwhelmed by the cleanup process.

Battery Terminal Cleaner Tool Kit, 2-Pack Battery Post Wire Brush with Metal Case and 10 Anti-Corrosion Fiber Washers (5 Red & 5 Green) for Car, Truck, RV and Marine Batteries
- Effortless corrosion removal: Dual-ended stainless steel wire brush
- Corrosion protection: Anti-corrosion fiber washers for terminals
- Universal compatibility: Suitable for 6V and 12V batteries
As an affiliate, we earn on qualifying purchases.
As an affiliate, we earn on qualifying purchases.
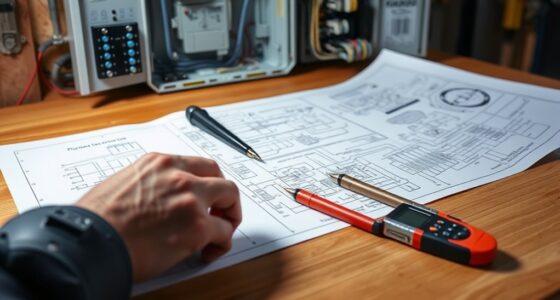
How to Check Electrical Components and Safety Features
After visually inspecting the tool’s exterior, it’s important to evaluate the electrical components and safety features to confirm they haven’t been compromised. Check the electrical insulation around cords and plugs for cracks or damage, as compromised insulation can cause shorts or shocks. Testing work-life harmony can also provide a mental framework for ensuring safety during inspections. Test circuit continuity with a multimeter to verify electrical pathways are intact and functioning properly. If the tool has a ground fault circuit interrupter (GFCI), verify it trips correctly when tested, providing essential protection against electrical shock. Additionally, ensuring proper gap-sealing techniques can help prevent moisture from affecting electrical components. Examine switches and safety covers for proper operation and signs of moisture or corrosion. Additionally, ensure color accuracy is considered when using tools that may require precise visual inspections. Never assume the tool is safe; if you notice irregularities or suspect damage, it’s best to have a professional inspect it before use. Proper checks can prevent accidents and ensure safe operation.

Klein Tools RT250 GFCI Outlet Tester with LCD Display, Electric Voltage Tester for Standard 3-Wire 120V Electrical Receptacles
- LCD Display: Large backlit LCD for easy reading
- Trip Time Monitoring: Displays GFCI trip time for troubleshooting
- Wiring Fault Detection: Identifies common wiring issues
As an affiliate, we earn on qualifying purchases.
As an affiliate, we earn on qualifying purchases.
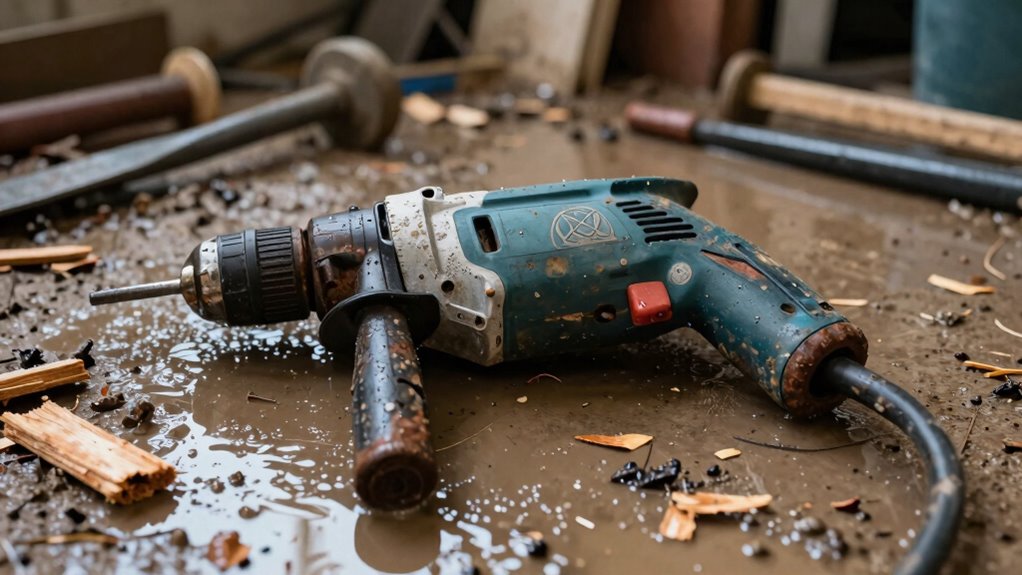
Identifying Signs of Corrosion and Hidden Damage
You should look for visible rust on metal parts as a clear sign of corrosion, but don’t forget to examine inside for internal component damage that may not be obvious. Hidden moisture can cause ongoing deterioration even if the tool looks fine on the surface. Recognizing these signs early helps prevent further damage and guarantees your safety before using the tool again. Additionally, proper soundproofing techniques can reduce noise levels when using power tools in a home environment. Understanding informal language can also help you communicate effectively about safety precautions and tool care with others. Moreover, maintaining ethical standards in tool usage and maintenance can enhance safety and reliability over time. Furthermore, utilizing support networks for new fathers can provide valuable insights into tool care and safety from experienced users. It’s also important to consider infection risks when using tools that may come into contact with the skin, as improper cleaning can lead to complications.
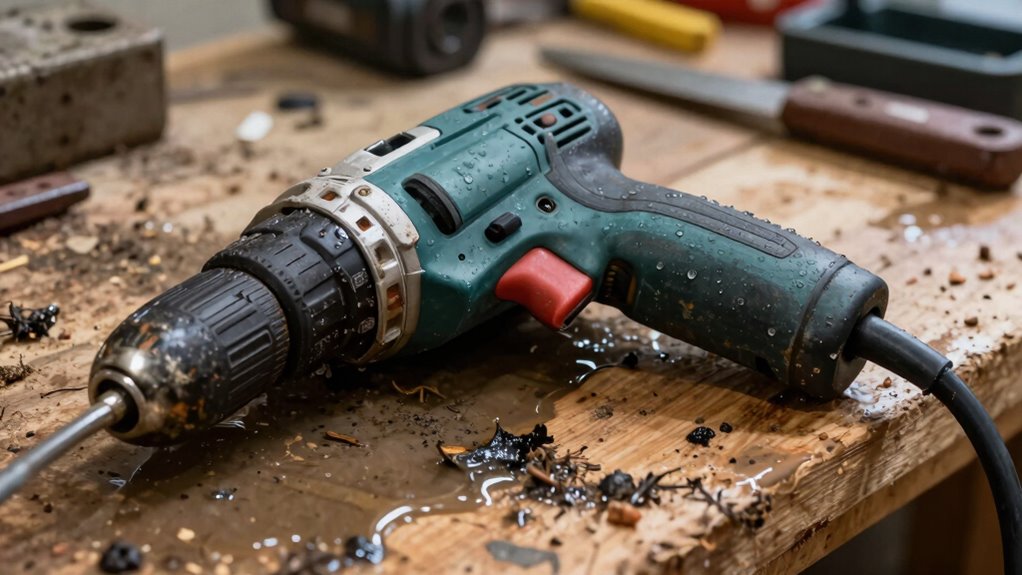
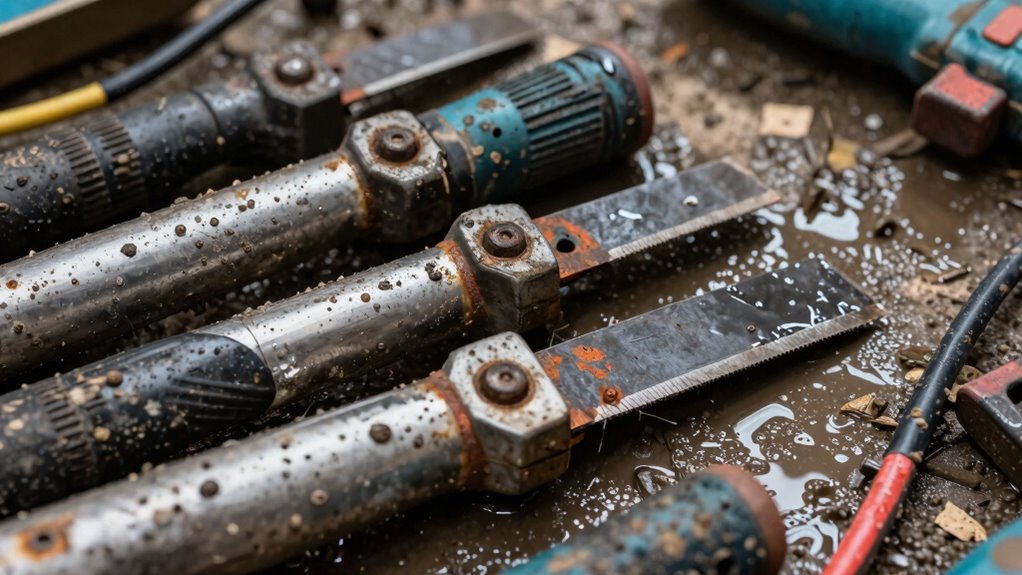
Visible Rust Indicators
Visible rust is often the first sign that your power tools have suffered damage from flooding. Look closely for rust formation, which appears as reddish or brownish spots on metal surfaces. These spots often follow specific corrosion patterns that indicate ongoing deterioration. Rust can weaken components, making them unsafe to use. To identify signs of corrosion, check for rough patches, flaky surfaces, or discoloration on metal parts. Pay attention to areas where moisture might linger, like joints or crevices. Detecting visible rust early helps prevent further internal damage caused by hidden corrosion. Regularly inspect your tools for these rust indicators, especially after exposure to water, to ensure they’re safe and operational before use.
- Reddish or brownish surface spots
- Flaky or rough patches
- Discoloration around joints
- Uneven corrosion patterns
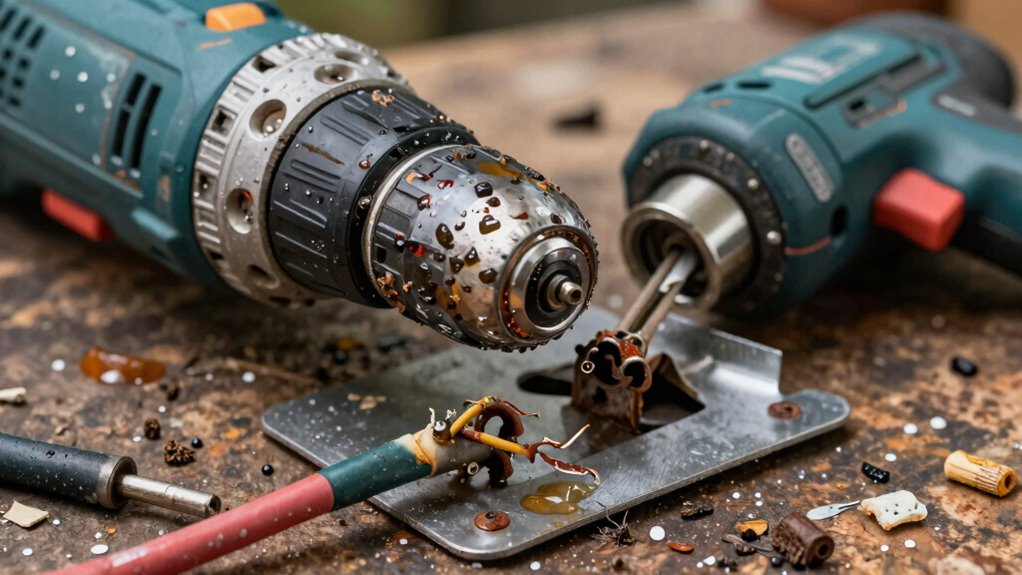
Internal Component Corrosion
How can you tell if internal components of your power tools have corroded? Look for signs of internal component corrosion, which may not always be obvious externally. Moisture intrusion inside the tool can lead to rust and deterioration of metal parts, causing poor performance or failure. If you notice unusual noises, overheating, or sluggish operation, it could point to internal corrosion. Disassemble the tool carefully to inspect for discoloration, pitting, or a powdery residue on internal parts. Corrosion often starts beneath the surface, so even if external parts look fine, internal damage might be present. Addressing internal component corrosion early is vital to prevent further damage and guarantee your power tool remains safe and functional after flooding. Engaging in regular maintenance and simple exercises can help ensure your tools are in optimal condition, reducing the risk of corrosion over time. Additionally, understanding how couple finances can impact your ability to maintain tools is essential for ensuring consistent upkeep. Tools that are not regularly inspected for hidden damage may lead to unexpected failures, similar to how hidden corrosion can undermine the structural integrity of music industry ventures. To foster a sense of security, it’s important to remember that rebuilding trust is a gradual process, just like restoring your tools to their full functionality. Regular inspections can also help identify leash etiquette issues with pet training devices that may be caused by similar environmental factors.
Hidden Moisture Damage
Even when a power tool looks intact externally, hidden moisture can cause significant damage beneath the surface. Hidden moisture can lead to concealed damage like corrosion, which isn’t always immediately visible. To identify signs of this, check for:
- Discoloration or rust on metal parts, indicating internal corrosion
- Unusual stiffness or difficulty moving parts, suggesting internal damage
- Foul odors, which may signal mold or ongoing corrosion
- Corrosion around seals or vents, revealing moisture infiltration
These signs point to unseen issues that could compromise the tool’s safety and performance. Always inspect thoroughly, as concealed damage from hidden moisture might not be apparent at first glance but can worsen over time if ignored. Recognizing these signs helps prevent further damage and ensures safe reuse.
Cleaning and Drying Flooded Power Tools Properly
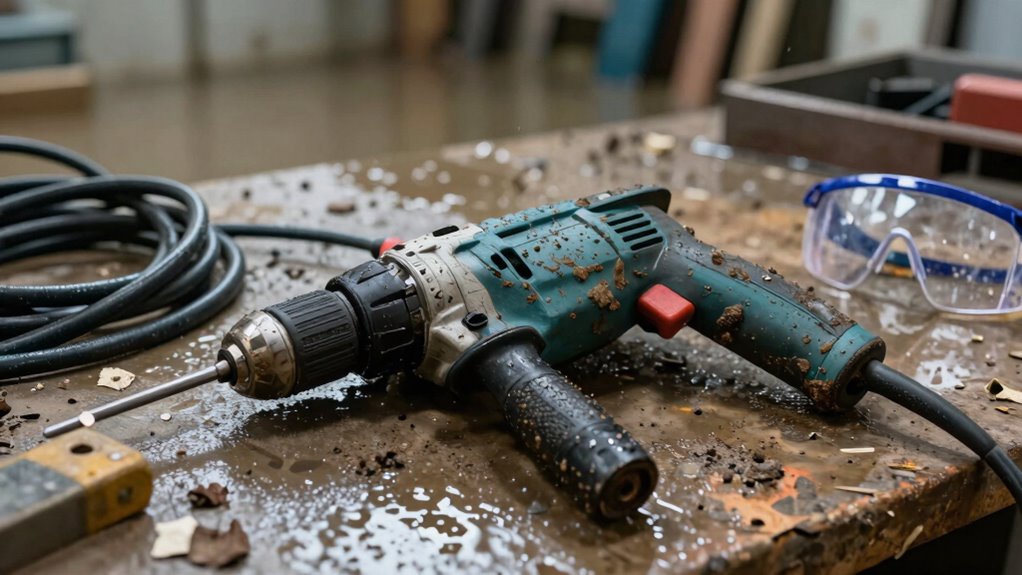
To restore your flooded power tools, start by removing all moisture thoroughly to prevent rust and corrosion. Next, use the appropriate cleaning agents to clear out debris and any residual contaminants. Additionally, proper rug sizing can help ensure your workspace remains organized and safe while you inspect your tools. Finally, make certain everything is completely dried before attempting to reuse or store the tools to avoid future damage. Additionally, understanding regional flavors can enhance your appreciation for the tools you use, much like how different coffee or tea cultures influence flavor profiles.
Remove Moisture Thoroughly
After flooding, it’s essential to remove all moisture from your power tools to prevent corrosion and electrical issues. To do this effectively, focus on moisture evaporation by wiping down surfaces and allowing air circulation. Using desiccant packs inside the tool’s casing helps absorb residual moisture, speeding up the drying process. Make certain all accessible parts are thoroughly dried, especially vents and joints. Keep the tools in a dry, well-ventilated area for at least 24 hours. You can also use compressed air to blow out moisture from crevices. Remember, complete drying reduces the risk of rust and electrical shorts, so don’t rush this step. Proper moisture removal is imperative before proceeding to further cleaning or testing.
Use Appropriate Cleaning Agents
Choosing the right cleaning agents is essential to safely and effectively restore your flooded power tools. Use appropriate cleaning agents that are compatible with the tool’s materials to avoid damage. Mild detergents or specialized electrical contact cleaners work well for removing dirt, grime, and residues. Surface disinfectants can help eliminate bacteria and mold that may have developed during flooding. Be cautious to select disinfectants that won’t corrode or harm sensitive components. Avoid harsh chemicals like bleach or solvents that can cause corrosion or damage plastics. Apply cleaning agents carefully, using brushes or cloths to reach tight areas. Proper cleaning guarantees that all contaminants are removed, reducing the risk of corrosion or malfunction when you restart your tools.
Ensure Complete Drying
Ensuring complete drying is vital to prevent corrosion and electrical shorts in your power tools. Proper drying is a key step in flood recovery and essential for effective power tool maintenance. If moisture remains, it can damage internal components and reduce the tool’s lifespan. To dry your tools thoroughly, consider the following:
- Remove all detachable parts and wipe them with a clean, dry cloth.
- Use compressed air to blow out water from vents and crevices.
- Allow tools to air dry in a well-ventilated area, avoiding direct heat.
- Consider using silica gel packs or desiccants inside the tool’s casing for added moisture absorption.
Diligent drying ensures your power tools are safe to inspect and use again, preventing long-term damage.
Deciding Whether to Repair or Replace Your Flooded Tools
When your power tools have been submerged in floodwaters, deciding whether to repair or replace them hinges on several key factors. You need to evaluate the extent of water damage, the tool’s age, and its importance in your tool maintenance routine. Damaged electrical components or corrosion often mean replacement is safer and more cost-effective. If the tool is relatively new and vital for flood preparedness, repairs might be worth attempting. However, if corrosion has compromised internal parts or safety, replacing is the better option. Use this decision guide to weigh your options:
| Consideration | Action |
|---|---|
| Extent of water damage | Repair if minor, replace if extensive |
| Age of the tool | Replace if outdated or heavily damaged |
| Safety concerns | Replace if unsure about safety |
| Cost of repair | Repair if cost-effective |
| Critical tool for flood prep | Repair or replace based on importance |
Safety Tips for Reusing or Replacing Flood-Impacted Power Tools
After deciding whether to repair or replace your flood-affected power tools, prioritizing safety is paramount before putting them back into use. Confirm you thoroughly inspect each tool for damage, especially to electrical components. Pay close attention to battery safety; do not reuse batteries that show corrosion or swelling. Be aware of potential power surges that might have affected the circuitry, and avoid plugging in damaged tools. Before testing, let everything dry completely and consider having them checked by a professional. When reusing or replacing tools, keep these safety tips in mind:
- Check for water damage on electrical parts and connectors
- Avoid using tools with exposed wiring or corrosion
- Test power tools on a grounded outlet to prevent power surges
- Never operate a tool if you’re unsure about its safety
Preventive Measures to Protect Your Power Tools From Flooding
To protect your power tools from flooding, taking proactive steps can make a significant difference. Implement preventive maintenance regularly to keep tools in good condition and less vulnerable. Use proper storage solutions, like waterproof cabinets or elevated shelves, to avoid direct contact with water. Guarantee your storage area is dry and protected from leaks or rising water. Seal electrical components and vents to prevent water ingress. Keep tools away from flood-prone zones and create a maintenance schedule to inspect for corrosion or damage. Proper storage solutions and preventive maintenance reduce the risk of flooding damage and extend your tools’ lifespan.
| Action | Description |
|---|---|
| Preventive maintenance | Regularly inspect and clean tools |
| Waterproof storage | Use sealed cabinets or elevated racks |
| Seal electrical parts | Protect against water entry |
| Elevate storage | Keep tools above flood levels |
| Monitor environment | Check for leaks and water risks |
Frequently Asked Questions
Can Flood-Damaged Power Tools Be Safely Tested Without Professional Inspection?
You shouldn’t test flood-damaged power tools yourself without professional inspection. Electrical safety is vital because water can cause hidden damage, risking electric shock or fire. Check if the tool has water resistance markings; if unsure, avoid using it. Water damage often isn’t visible, so testing without expertise can be dangerous. Always have a qualified technician evaluate the tool to guarantee it’s safe before reuse.
How Long Should I Wait Before Attempting to Reuse Flood-Affected Tools?
You should wait at least 48 hours before attempting to reuse flood-affected tools. Think of it as letting a storm settle—giving electrical safety time to stabilize and corrosion prevention to work its magic. During this wait, guarantee the tools are completely dry, inspect for rust, and remove any moisture. Rushing in too soon risks damage or injury, so patience is your best defense against hidden hazards.
Are There Specific Brands More Resistant to Flood Damage?
Some brands are known for better durability and flood-resistant features, making them more suitable after flooding. Brands like Milwaukee, DeWalt, and Makita often incorporate rugged construction and water-resistant seals, enhancing flood resistance. While no power tool is entirely flood-proof, choosing reputable brands with strong durability and flood-resistant features can reduce damage risks. Always inspect tools thoroughly and dry them properly before reuse, regardless of brand.
What Are the Legal Liabilities of Using a Contaminated Power Tool?
Using a contaminated power tool could lead to catastrophic legal liabilities, like serious injury claims or hefty fines. You face major liability concerns if you ignore contamination risks, especially if someone gets hurt or infected due to your negligence. It’s your responsibility to make certain tools are thoroughly cleaned and safe before use. Failing to do so increases your legal exposure, making you accountable for any resulting damages or health issues.
How Can I Prevent Future Flood Damage to My Power Tools?
You can prevent future flood damage to your power tools by investing in proper storage maintenance and applying waterproofing techniques. Store your tools in elevated, dry areas to avoid water exposure, and consider using waterproof cases or covers for added protection. Regularly inspect seals and waterproofing measures, and keep tools clean and dry. These steps help safeguard your tools from flood damage, ensuring they stay functional and safe for use.
Conclusion
After a flood, your power tools are like soggy sandwiches—appealing in theory but dangerous in reality. Don’t let them fool you with a shiny exterior; beneath that surface, corrosion and hidden damage lurk, waiting to turn your DIY project into a disaster. Inspect thoroughly, dry meticulously, and decide wisely. Remember, a safe tool isn’t just a good idea—it’s your best defense against turning your home improvement efforts into a soggy, expensive mess.