
To master NOAA Weather Radio setup troubleshooting in a weekend, focus on understanding your device’s features, gather essential tools like batteries and manuals, and optimize antenna placement for clear signals. Follow step-by-step programming instructions carefully and test alert functions. Regularly inspect and fine-tune your equipment to guarantee reliable reception. With consistent effort, you’ll quickly become confident in maintaining the system. Keep progressing, and you’ll uncover even more tips for seamless operation.
Key Takeaways
- Familiarize yourself with device features, alert tones, and programming procedures using manuals and official resources.
- Ensure reliable power sources and keep extra batteries or backup options ready for uninterrupted operation.
- Optimize antenna placement by elevating it and testing different locations for best signal reception.
- Regularly check and clean antenna connections, and address electronic interference sources to improve reception.
- Perform routine testing, firmware updates, and environment adjustments to maintain and troubleshoot NOAA Weather Radio effectively.

Bingfu FM Radio Dipole Antenna for Stereo Receiver Indoor Pioneer Onkyo Yamaha Marantz Bose Wave Music System Home FM Radio AV Audio Video Home Theater Receiver
Adhesive Mounting FM Radio Antenna 75 Ohm UNBAL FM Dipole Antenna with Universal Connector and Adapter,for Music System…
As an affiliate, we earn on qualifying purchases.
As an affiliate, we earn on qualifying purchases.
Understanding Your NOAA Weather Radio and Its Features

Understanding your NOAA Weather Radio and its features is essential for staying informed during emergencies. This device provides critical weather alerts that can save lives during storms or other severe conditions. Familiarize yourself with how to tune into various channels and activate alert modes. Many NOAA radios offer features like snooze buttons, volume controls, and alert test functions, which help you customize your listening experience. Knowing how to set your radio properly ensures you receive timely warnings about weather alerts in your area. It also helps you understand the significance of different alert tones, so you can respond quickly during storm safety situations. Mastering these features allows you to stay prepared and confident, even when severe weather strikes unexpectedly. Additionally, understanding the importance of alert tones can enhance your ability to respond swiftly during emergencies.

Midland – WR120B – NOAA Emergency Weather Alert Radio – Localized Programming, Trilingual Display, 60+ Emergency Alerts, Alarm, Selectable Alert Tone
NOAA Weather Scan & Alert – This emergency weather alert radio features S.A.M.E localized programming and alert you…
As an affiliate, we earn on qualifying purchases.
As an affiliate, we earn on qualifying purchases.
Essential Tools and Preparations Before Starting
Before you start troubleshooting, gather all necessary equipment like your radio, antenna, and power supplies. Choose an ideal location with minimal interference and good signal reception. Make sure your power source is reliable and ready to keep your radio functioning during testing.
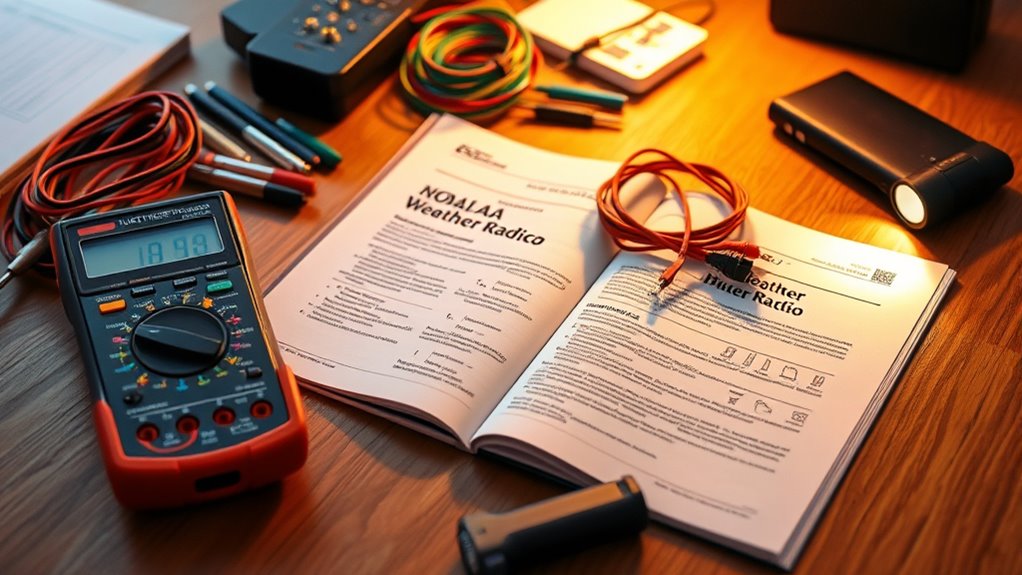
Necessary Equipment Checklist
To guarantee a smooth NOAA Weather Radio setup, gather all the essential tools and equipment beforehand. Start with your power supply options—consider different battery options like alkaline, rechargeable, or backup batteries to ensure continuous operation during outages. Next, select the appropriate antenna type; options include telescopic, dipole, or outdoor antennas, depending on your location and signal strength needs. Make sure you have a compatible power adapter or surge protector if needed. Keep a small screwdriver, batteries, and a manual or setup guide handy for adjustments and troubleshooting. Having these tools ready prevents delays and simplifies the process, allowing you to focus on positioning your radio and antenna correctly. Proper preparation guarantees your NOAA Weather Radio functions reliably when you need it most. Additionally, understanding AI-driven solutions can enhance your troubleshooting efficiency by providing advanced diagnostic insights.
Optimal Location Selection
Choosing the right location for your NOAA Weather Radio is crucial to guarantee clear and reliable reception. Aim for a spot with minimal interference and good signal coverage. Position your antenna upright and oriented toward the broadcast tower for maximum reception. Avoid placing it near metal objects, electronics, or thick walls that block signals. Elevate your radio if possible, such as on a shelf or window sill, to improve reception. Use interference mitigation techniques like shielding or relocating sources of electronic noise. Here’s a quick reference:
| Factors to Think About | Tips |
|---|---|
| Antenna orientation | Point towards broadcast tower for best signal |
| Interference mitigation | Keep away from electronics and metal objects |
| Elevation | Place on higher surfaces like shelves |
| Obstructions | Avoid thick walls or metal barriers |
| Signal strength | Test different spots for clear reception |
Additionally, understanding AI security considerations can help you troubleshoot issues related to electronic interference or signal disruptions caused by nearby devices.
Power Source Preparedness
Ensuring your NOAA Weather Radio has a reliable power source is essential for uninterrupted alerts. Power outages or surges can leave you vulnerable during emergencies, so proper preparations matter. Use battery backups to keep the radio running if the power goes out, avoiding missed critical alerts. Surge protectors safeguard your device from electrical spikes that could damage the radio or its components. Before starting setup, check that your power sources are secure and functioning. Keep extra batteries handy, and test your surge protector to ensure it’s working correctly. Don’t wait until an emergency strikes—prepare now to stay informed and safe during severe weather events. Rhythm Failure techniques for effective editing and mixing can help preserve audio quality during power fluctuations.
Midland – WR120B – NOAA Emergency Weather Alert Radio – Localized Programming, Trilingual Display, 60+ Emergency Alerts, Alarm, Selectable Alert Tone
NOAA Weather Scan & Alert – This emergency weather alert radio features S.A.M.E localized programming and alert you…
As an affiliate, we earn on qualifying purchases.
As an affiliate, we earn on qualifying purchases.
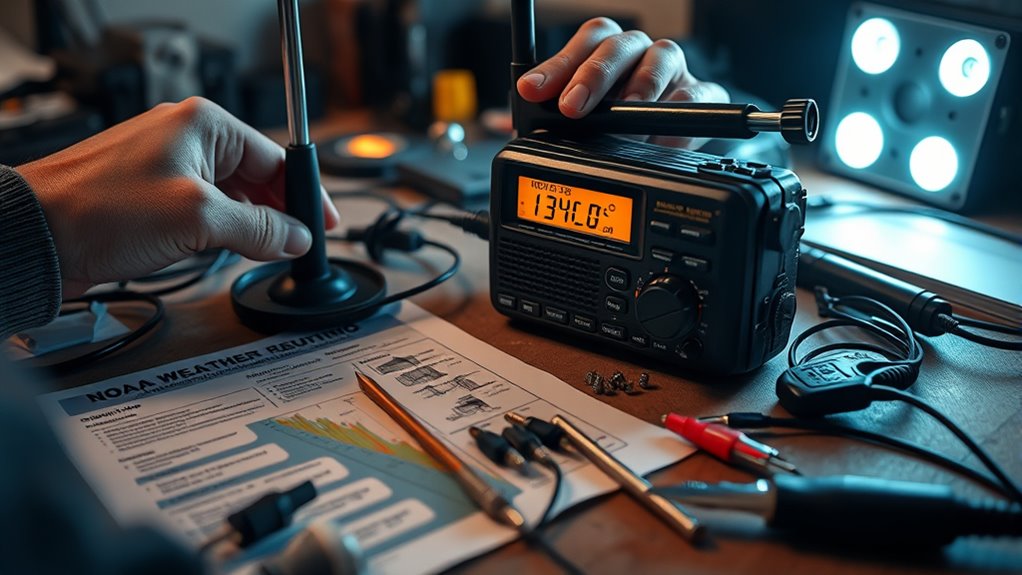
Proper Placement and Antenna Setup for Optimal Reception

To get the best reception, you should elevate your antenna as high as possible. Placing it in a clear location away from obstructions helps guarantee a strong signal. Proper placement makes a noticeable difference in receiving accurate weather alerts. Using sound effects libraries can also help you troubleshoot and identify signal issues more effectively.
Elevate Antenna Height
Raising your NOAA weather radio antenna can markedly improve signal reception, especially in areas with obstacles or interference. Increasing the antenna height allows you to bypass obstructions like buildings or trees that weaken signal strength. When you elevate your antenna, you’re more likely to receive clearer, more reliable weather alerts. Consider these tips to maximize your antenna’s effectiveness:
- Place the antenna as high as possible, ideally near a ceiling or on a rooftop.
- Keep it away from metal objects or electronics that could cause interference.
- Use a longer, properly insulated cable for better reach and signal clarity.
- Ensuring your antenna setup aligns with the top projector features can also enhance overall reception quality.
Choose Clear Locations
Choosing the right location for your NOAA weather radio antenna is essential for ideal reception. You want a spot with minimal interference, away from other electronics or thick walls, which can block signals. Aim for an open area with a clear line of sight to the sky, especially if you’re in a location privacy-sensitive area where visibility is limited. Pay attention to the local weather pattern; weather conditions like storms or heavy precipitation can affect signal quality. Avoid placing your antenna near large metal objects or reflective surfaces that cause signal reflection or distortion. Proper placement guarantees consistent, reliable reception, so you experiment with different spots until you find one that provides the clearest signals. This simple step can considerably improve your weather alert experience. Additionally, understanding weather signal propagation can help you optimize your antenna setup for better performance.

GE Outdoor HD Digital TV Antenna, Long Range Smart TV Antenna, Supports 4K 1080P HD Smart TV VHF UHF, J Mount Included for Attic or Outdoor, Weather Resistant, 29884
power_source_type: Coaxial.Power Source Type: Coaxial
As an affiliate, we earn on qualifying purchases.
As an affiliate, we earn on qualifying purchases.
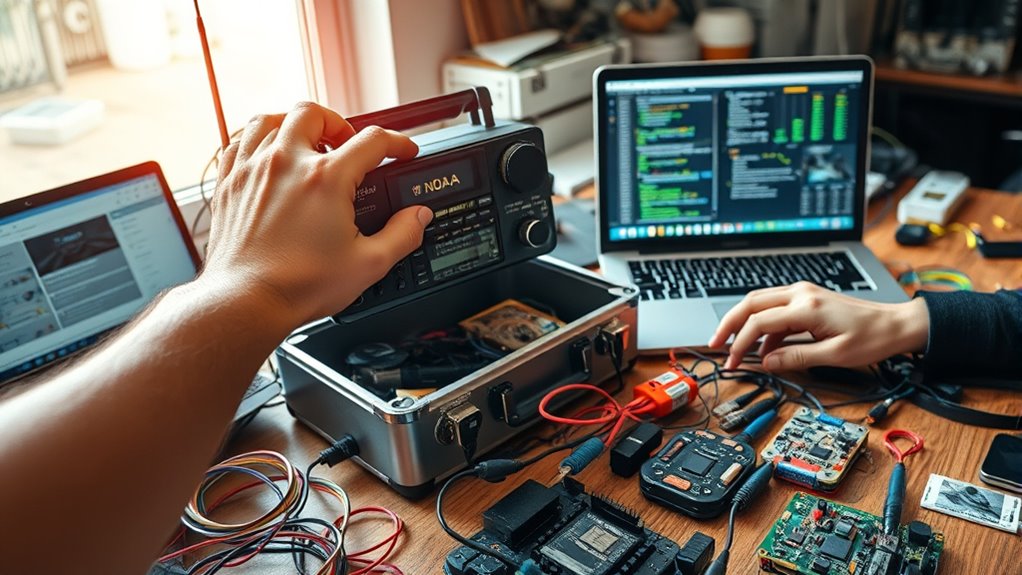
Programming Your NOAA Weather Radio: Step-by-Step Guide
Programming your NOAA Weather Radio guarantees you receive timely alerts for your area, but the process can seem intimidating at first. Don’t worry—step-by-step, you’ll get it right. Start by inserting fresh batteries or performing a battery replacement to ensure reliable power. Next, access your device’s menu and input your zone codes, which you can find online or in your local weather office. Remember to check for firmware updates, as they improve functionality and alert accuracy. Familiarize yourself with the family photoshoot fails to better understand common issues and troubleshooting tips.
- Feel confident as you customize alerts for your region
- Experience peace of mind knowing you’re prepared
- Gain independence in troubleshooting and maintaining your radio
Diagnosing and Resolving Common Reception and Alert Issues
When your NOAA Weather Radio isn’t receiving alerts properly, diagnosing the issue quickly is essential to restoring reliable reception. First, check your antenna type—whether it’s a wire, telescoping, or external antenna—and verify it’s positioned correctly. Poor placement or damaged antennas can weaken signals. If reception remains weak, consider signal boosting options like installing an outdoor antenna or amplifiers designed for weather radios. Also, confirm that the antenna is securely connected and free of obstructions. Sometimes, interference from nearby electronics can disrupt alerts, so keep your radio away from other devices. Testing different antenna positions can improve signal strength. Additionally, understanding Pet Hair Management techniques can help keep your radio area clean and free of dust that might interfere with reception. Addressing these common issues often restores clear, consistent alerts, ensuring you stay informed during severe weather conditions.
Fine-Tuning and Maintaining Your Device for Reliable Alerts

Once you’ve addressed any reception issues with your antenna, maintaining and fine-tuning your NOAA Weather Radio guarantees you receive alerts consistently. Regularly check antenna alignment to ensure superior signal strength, preventing missed warnings. Customize your alerts to match your needs, so you’re only notified of critical updates. Keep your device free of dust and debris, which can interfere with reception. Test your radio weekly to confirm it functions properly. Adjust volume and alert tone for clarity and immediate recognition. Periodic firmware updates, if available, can improve performance and reliability. Staying proactive with these simple steps keeps you prepared and confident during severe weather events. Monitoring payment security measures can also prevent disruptions in alert services.
Maintain your NOAA Weather Radio with regular checks, customization, and updates for reliable alerts during storms.
- Feel secure knowing you’re always informed when it matters most
- Experience peace of mind with alerts that are loud, clear, and reliable
- Feel empowered by taking control of your weather safety setup
Frequently Asked Questions
Can I Connect My NOAA Radio to Smart Home Systems?
Yes, you can connect your NOAA weather radio to your smart home system through device integration. Many modern NOAA radios support Wi-Fi or Bluetooth connections, allowing you to link them with smart home hubs or automation platforms like Alexa or Google Home. Check your radio’s compatibility and follow setup instructions to enable alerts to be announced or controlled via your smart home devices, enhancing your emergency preparedness seamlessly.
How Do Weather Alerts Differ Between NOAA Radios and Mobile Apps?
Weather alerts with NOAA radios are like a steady drumbeat—reliable and consistent, but less customizable. They provide essential alerts for severe weather, often broadcasted with specific tones. Mobile apps, on the other hand, let you customize weather alert notifications, choosing what types of alerts you want to receive and when. This makes apps more flexible, while NOAA radios focus on delivering urgent, broad alerts without the need for customization.
Is There a Way to Filter Specific Weather Alerts on My Device?
Yes, you can filter specific weather alerts on your device using weather alert customization and alert filtering options. Check your NOAA radio or app settings for alert preferences, where you can select the types of alerts you want to receive or block. This way, you receive only relevant weather updates, reducing unnecessary notifications and ensuring you’re prepared for the alerts that matter most to you.
What Should I Do if My NOAA Radio Still Doesn’t Receive Alerts After Setup?
If your NOAA radio still isn’t alerting you, don’t panic—just blame the antenna troubleshooting or power source. Check if your antenna is properly connected and positioned for clear reception. Confirm your power source is stable and batteries are fresh or the power cord is plugged in. Sometimes, a simple restart or repositioning can fix the issue. If all else fails, consider replacing the antenna or testing a different power outlet—problem solved!
Are There Any Legal Restrictions on Modifying NOAA Weather Radios?
You should be aware that radio modifications can have legal considerations. Modifying NOAA weather radios to alter their signals or functionalities might violate federal regulations, especially if it interferes with authorized broadcasts or other communications. Always check local laws and regulations before making any radio modifications. To stay compliant, avoid altering the device beyond manufacturer specifications, and focus on proper setup and troubleshooting to ensure you receive alerts legally and effectively.
Conclusion
With a little patience and practice, you’ll perfect your NOAA weather radio setup and stay safely informed. By mastering the mechanics, troubleshooting those tricky troubles, and tuning your device diligently, you’ll enjoy dependable alerts whenever they’re needed most. Remember, meticulous maintenance makes your device’s alerts accurate and assured. Keep troubleshooting, tuning, and trusting in your tech—turning weather warnings into worry-free wins. Stay savvy, secure, and always prepared for whatever weather wonders come your way.