
To create effective Morse light signals for rescue, focus on consistent timing—about one second for dots and three seconds for dashes—using a stopwatch or timer to keep rhythm. Make certain your signals are clear and recognizable, utilizing simple lights or mirrors that are easy to operate and steady. Practice regularly to master timing and clarity, adapting your equipment for daylight or nighttime conditions. Keep these principles in mind to maximize your chances of successful communication; exploring further can help you refine these skills.
Key Takeaways
- Use standardized Morse code timing: dots (~1 sec), dashes (~3 sec), with consistent intervals for clarity.
- Ensure signals are simple, recognizable, and distinguishable from background light or environmental noise.
- Utilize focused, steady beams from flashlights or mirrors, adjusting brightness for day or night visibility.
- Practice regular timing drills with timers or stopwatches to maintain accurate rhythm and prevent miscommunication.
- Keep equipment durable, easy to operate, and positioned securely to facilitate quick, clear signaling in emergency conditions.
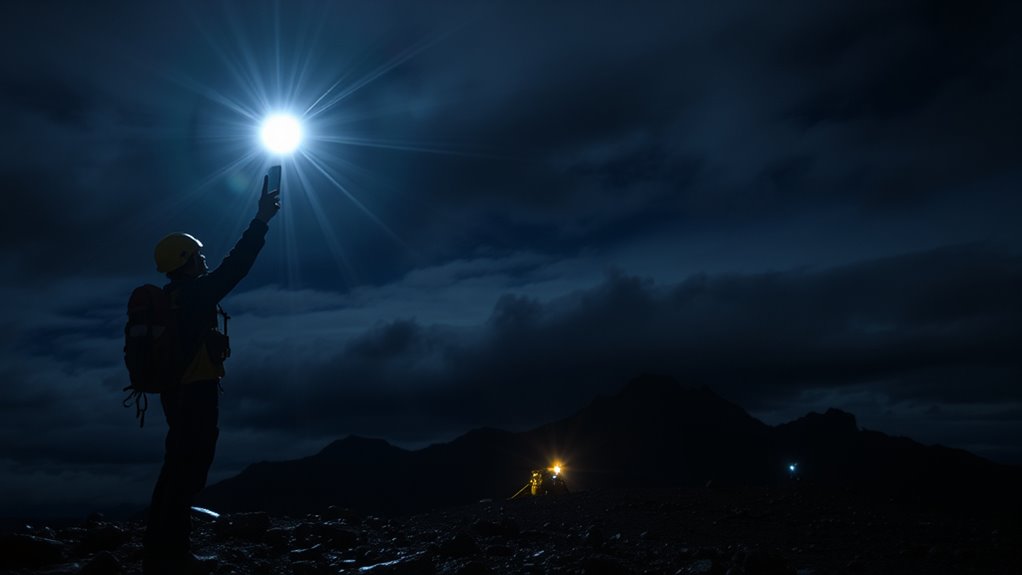
When you’re in a rescue situation with no access to radio or phone communication, creating Morse light signals can be a lifesaver. In such moments, your ability to transmit clear, recognizable messages can make all the difference in attracting help. To do this effectively, understanding the importance of signal timing and equipment design is essential. Proper signal timing ensures your signals are distinguishable and interpretable, preventing confusion or miscommunication. For example, the duration of a dot versus a dash must be consistent; typically, a dot lasts about one second, while a dash extends to three seconds. Maintaining this rhythm helps rescue teams recognize your signals quickly, even from a distance or in poor visibility conditions. Developing a reliable method for signal timing involves practicing your rhythm and being disciplined with your flashes, whether using a flashlight, mirror, or any light source. Incorporating standardized communication protocols can further improve clarity and effectiveness of your signals.
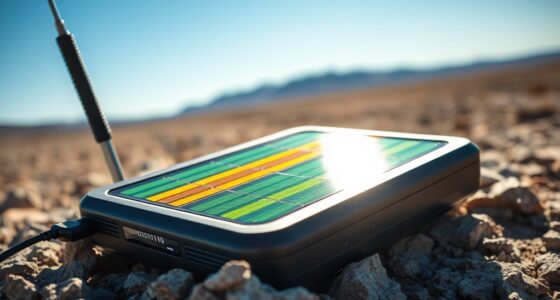
Equipment design also plays a pivotal role in successful Morse light signaling. Your device should be simple, durable, and easy to operate under stressful conditions. A basic flashlight or a mirror can suffice, but you need to ensure that your light source can produce a focused, steady beam that can be turned on and off rapidly. When designing or choosing your equipment, consider adding a means to control the flash rate—this could be a simple switch or a method to manually modulate the light. Additionally, the visibility of your signals depends on the environment; in daylight, a bright, focused light is preferable, while at night, a more subdued, adjustable beam might be better. If you’re using a mirror, ensure it’s securely mounted and has a smooth, reflective surface, so you can aim it accurately over long distances.
Practicing with your equipment is essential. Master the timing and rhythm, so your signals are consistent and recognizable. Use a stopwatch or timer to calibrate your flashes and ensure your signals follow the standard Morse code timing conventions. This discipline helps prevent errors and guarantees rescue teams can interpret your messages accurately. Remember, the goal is clarity and simplicity—your signals should be easy to distinguish and quick to send. When combined with proper signal timing and robust equipment design, your Morse light signals become a powerful tool to catch the attention of rescuers, guiding them straight to your location when every second counts.
Frequently Asked Questions
How Do I Distinguish Between Different Morse Code Signals Visually?
You can distinguish between different Morse code signals visually by focusing on visual pattern recognition and signal timing consistency. Pay attention to the length of the flashes—dots are short, while dashes are longer. Guarantee you observe the timing between signals carefully; consistent timing helps you identify specific letters or messages. Practice observing these patterns quickly to improve your ability to decode signals accurately in rescue situations.
What Are the Best Light Sources for Emergency Morse Signaling?
Over 80% of rescue signals are detected using visual cues like light. For emergency Morse signaling, LED flashlights are your best choice because they’re bright, energy-efficient, and durable. Signal mirrors can also be effective, especially in reflective conditions. Combining a reliable LED flashlight with a signal mirror maximizes your visibility, ensuring your signals are seen from a distance and increasing your chances of rescue.
How Can I Practice Morse Light Signaling Effectively Alone?
To practice Morse light signaling alone, start with flashlight drills to build your rhythm and accuracy. Focus on consistent signal timing, ensuring your flashes are clear and distinguishable. You can set up a mirror to observe your signals or record yourself to evaluate your timing and clarity. Regular practice helps you develop muscle memory, making your signals more reliable in an emergency. Keep practicing daily for the best results.
What Are Common Mistakes to Avoid When Creating Morse Signals?
You should avoid rushing the signal timing, as inconsistent timing can make your signals hard to interpret. Focus on maintaining signal clarity by keeping your light steady during dots and dashes, and guarantee your pauses are deliberate. Don’t forget to practice in low light conditions to simulate real rescue scenarios. Clear, well-timed signals increase your chances of being understood, so stay patient and attentive to detail.
How Do Weather Conditions Affect Morse Light Communication?
Weather conditions notably impact your Morse light communication. Atmospheric interference like fog, rain, or snow can distort or block your signals, making them hard to see or interpret. Visibility challenges caused by storms or low light reduce the distance your signals can travel effectively. To guarantee clear communication, you need to take into account these factors, possibly adjusting your signal timing, using brighter lights, or waiting for better weather conditions.
Conclusion
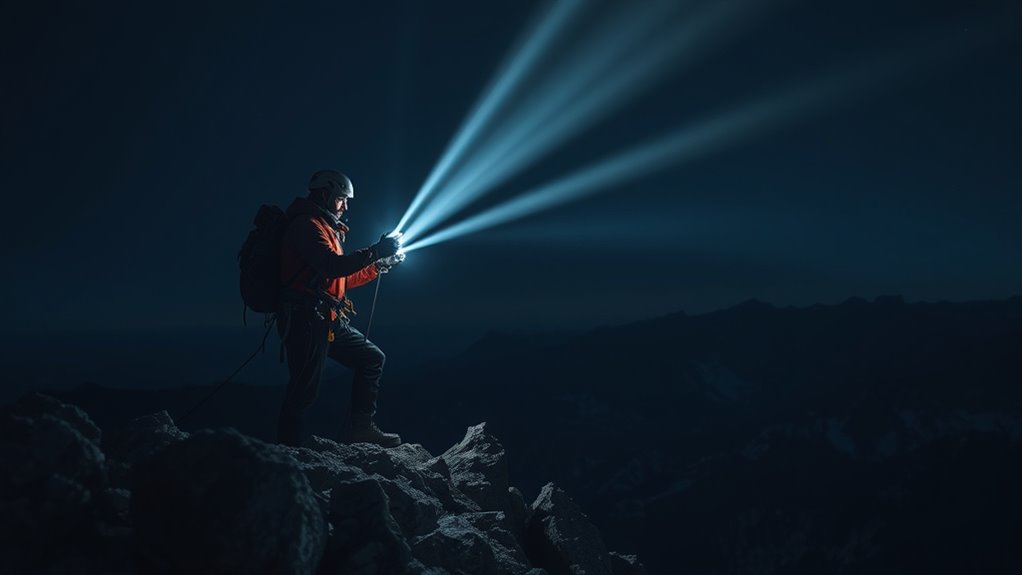
As you master Morse light signals, you’ll discover how a simple flash can be your lifeline, connecting you when all else fails. It’s no coincidence that this ancient code still proves essential today—your quick, clear signals could be the key to rescue. When darkness falls or silence surrounds you, your knowledge becomes a beacon of hope, turning a flicker into a lifeline. Trust in your skills; rescue might just be a flash away.