
To make DIY dehydrated meals for emergency kits, start by choosing nutritious ingredients like vegetables, meats, grains, and seasonings. Use a quality dehydrator or an oven set to low heat to dry your cooked or raw ingredients evenly, ensuring proper dehydration times for safety and flavor. Store your finished meals in airtight containers or vacuum-sealed bags for maximum shelf life. If you keep exploring, you’ll discover even more tips to create versatile, long-lasting emergency foods that are easy to prepare.
Key Takeaways
- Select nutrient-dense ingredients like vegetables, meats, and grains, and slice thinly for even dehydration.
- Use a dehydrator set at appropriate temperatures to ensure safe, thorough drying of all components.
- Combine dried ingredients into meal packets, such as rice bowls or soups, for easy rehydration during emergencies.
- Store dehydrated meals in airtight containers or vacuum-sealed bags to maximize shelf life and preserve nutrients.
- Incorporate a variety of snacks and quick-prep options to diversify your emergency food supply and meet energy needs.

Dehydrated meals offer a simple and cost-effective way to enjoy homemade, lightweight, and long-lasting food options for camping, travel, or emergency preparedness. When you start making your own dehydrated meals, you gain control over ingredients, flavor, and nutrition, ensuring you’re prepared for any situation. A key part of this process is exploring freeze dried snacks and dehydrator recipes. Freeze dried snacks are perfect for quick energy boosts, and you can customize them with your favorite fruits, nuts, or even herbs. These snacks not only taste great but also stay fresh for years, making them ideal for emergency kits. Meanwhile, dehydrator recipes open up a world of possibilities for wholesome, homemade food that retains flavor and nutrients without preservatives or additives.
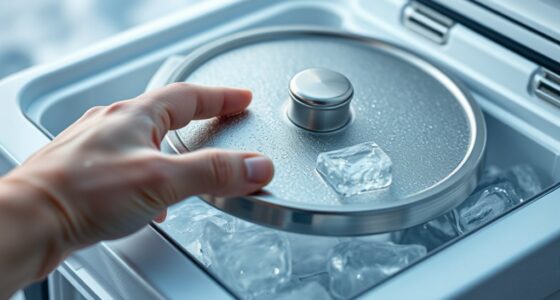
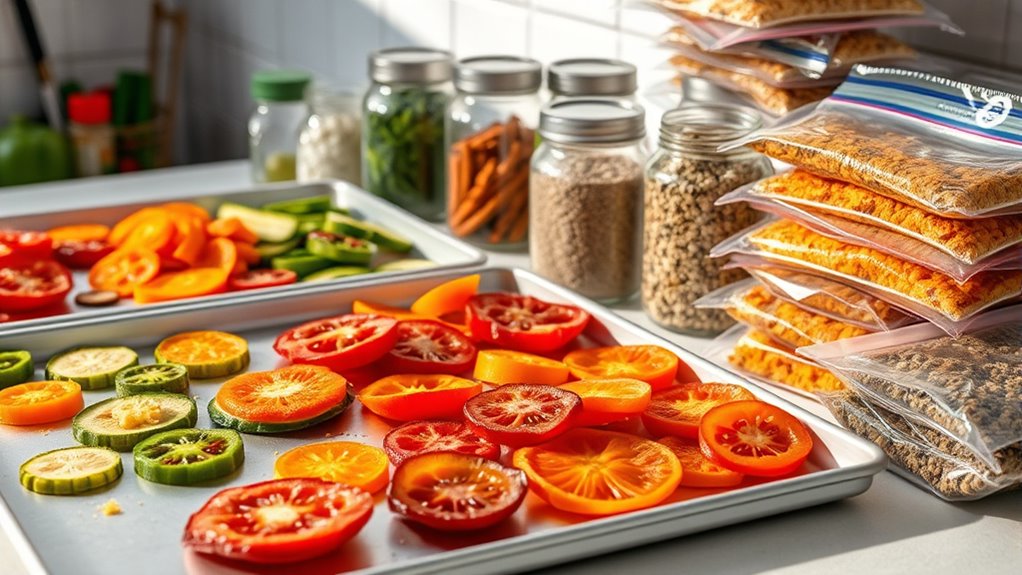
To begin, you’ll need a good dehydrator, which allows you to dry fruits, vegetables, meats, and prepared meals efficiently. With practice, you can perfect dehydration times and temperatures to ensure your food remains safe, flavorful, and easy to rehydrate later. When creating dehydrator recipes, focus on thin, even slices of ingredients to promote even drying. For example, thinly sliced apples, peppers, or cooked ground meats can be dehydrated and stored for future use. Once dried, these ingredients can be combined into trail mixes, soups, or rice bowls, making meal assembly quick and straightforward. Proper storage techniques, such as vacuum sealing, help preserve the quality and shelf life of your dehydrated foods.
Freeze dried snacks are especially popular because of their convenience and long shelf life. You can make your own freeze dried strawberries, mango slices, or even yogurt bites. These snacks are excellent for on-the-go energy and can be stored in small, lightweight containers, perfect for emergency kits. To make freeze dried snacks at home, you’ll need a freeze dryer—though some high-end dehydrators also offer freeze-drying features—or you can buy pre-made freeze dried fruits and incorporate them into your snacks. Incorporating these into your dehydrator recipes can also diversify your emergency food stockpile, providing tasty options that aren’t just nutritious but also appealing.
As you experiment, you’ll discover how versatile dehydration can be. Whether it’s drying herbs to add flavor to meals later or creating a variety of snacks to keep your energy levels high, dehydrated foods are a reliable, space-saving solution. Make sure to store your dehydrated meals and snacks in airtight containers or vacuum-sealed bags to maximize shelf life. When packing your emergency kit, include a mix of dehydrator recipes and freeze dried snacks, so you’re prepared with hearty meals and quick bites that require minimal preparation. Additionally, choosing the right dehydration temperature and technique can help preserve the nutritional value of your foods. With a little effort upfront, you ensure you’re ready for anything, with homemade, long-lasting food options that you trust and enjoy.
Frequently Asked Questions
What Are the Best Fruits for Dehydration?
You should choose fruits like apples, berries, bananas, mangoes, and pineapples for dehydration, as they preserve well and retain flavor. These fruits respond effectively to dehydration techniques, which involve removing moisture to extend shelf life and maintain nutrients. To maximize fruit preservation, slice them evenly and use a food dehydrator or oven at low temperatures. Properly dried fruits are perfect for emergency kits, snacks, or baking ingredients.
How Long Do Homemade Dehydrated Meals Last?
Dehydrated meals can last up to 6 to 12 months if stored properly. To maximize shelf life, keep meals in airtight containers or vacuum-sealed bags, away from heat, humidity, and sunlight. Store them in a cool, dark place, and label each package with date details. Regularly check for signs of spoilage, like mold or off-odor, and rotate your reserves to keep emergency meals fresh, flavorful, and functional.
Can I Dehydrate Dairy Products Safely?
You can dehydrate dairy products, but you need to follow proper dairy preservation and food safety tips. To do this safely, use a food dehydrator set at 135°F (57°C) to guarantee bacteria are killed. Spread dairy thinly on trays, and dry thoroughly until brittle. Store in airtight containers in a cool, dark place. Proper dehydration prevents spoilage, so always check for moisture before storing, and consume within a year for best quality.
What Equipment Is Essential for Dehydration?
They say, “You are only as good as your tools.” To guarantee food safety and effective dehydration techniques, you need a reliable food dehydrator or an oven with a dehydration setting. A thermometer helps maintain proper temperatures, while parchment paper or mesh trays prevent sticking. Investing in quality equipment ensures your dehydrated meals are safe, nutritious, and shelf-stable, giving you peace of mind during emergencies or outdoor adventures.
How Do I Rehydrate Meals Quickly During an Emergency?
To rehydrate meals quickly during an emergency, use the best liquids for rehydrating, like hot water, broth, or electrolyte drinks, which speed up absorption. Employ quick rehydration methods such as soaking meals in hot liquid for 10-15 minutes or using a microwave to heat and soften food rapidly. Stir well to guarantee even rehydration, and always check temperature and consistency before eating.
Conclusion
Now that you know how easy it is to make your own dehydrated meals, aren’t you excited to start building a reliable emergency kit? With just a few simple steps, you can guarantee you’ll have nutritious, lightweight food ready when you need it most. Imagine the peace of mind knowing you’ve prepared for unexpected situations. So, why wait? Get started today and take control of your emergency preparedness!